Wedding Album Tutorial:
As promised, here is a quick tutorial of how I make my photography albums. Customize it to your own style and have fun!
Here's a picture of what you'll need:
Start off with your cover paper face down and glue your chip board to the center of it. Do this twice, for your front and back cover. Then, cut the corners off of the cover paper, as seen in the photo below on the left. Once this is done, fold onto cardboard and glue (see right side below).
Next, place your metal tag, poke the holes for it, and attach it to wherever you please. Then, glue in your ribbon. These steps are done now so that it will be covered up later.
Here is what the front will look like at this point.
Now for the inside of the album. You'll need the two album inserts. This picture is for the right side insert of the album. Fold the paper, so that the left side measures 5 3/8 inch (you will do the reverse of this of the other side of the album).
Now, fold the longer side straight down the crease.
Fold the right side onto the left side.
Now flip the paper over and fold that extra pieces of paper hanging off the bottom up as shown in the picture below. This will keep the CD from falling out the bottom.
Flip it over and it will look like this from the front.
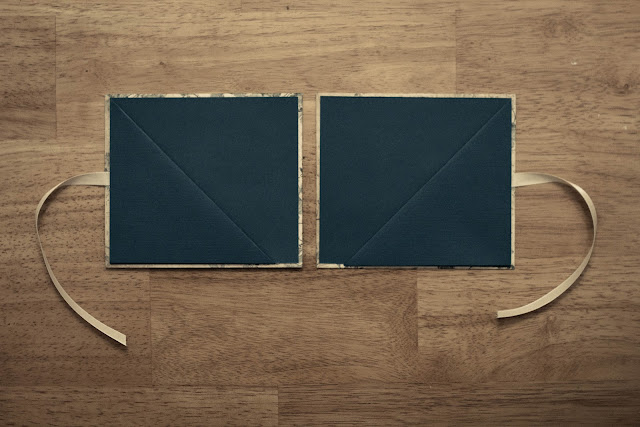
Now do the other side (the reverse of what was just done), and they should both mirror each other:
Once finished, glue album inserts to the front and back pieces of the album cover.
Now, just glue the binder onto the front and back pieces to hold the album together.
And, here is the final product :)
Hope you enjoy! If you end up making one of these, tag me in a picture! I'd love to see!
-Amber
-Amber


What is the angle of the corner cuts on the front paper cover? Or how far did you measure on? Tha ks for the tutorial!
ReplyDeleteQuite honestly I just guess! It's not a specific angle that I use. I've just played with it to see what works. You're welcome! :)
ReplyDelete